Enabling the Special Events layer
To create a Special Event, you must first enable the Traffic Disruption>Special Events function on the Live Map. Please follow the directions here:
https://help.rekor.ai/how-do-i-enable-special-events
Now you are ready to create a Special Event.
Creating a new special event
- On the Live Map, navigate to the region where the special event will be located.
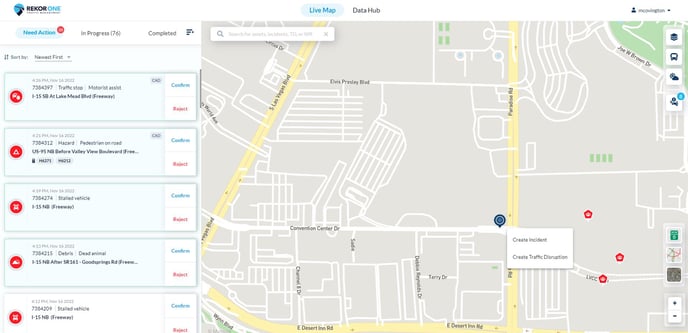
- Right click on the location and select Create Traffic Disruption. The Traffic Disruption details panel will open on the left.
- The type of event allows you to choose the traffic disruption type and subtype.
Three types of Traffic Disruption are:
- Construction
- Road Closure
- Special Event
- Click on Special Event.
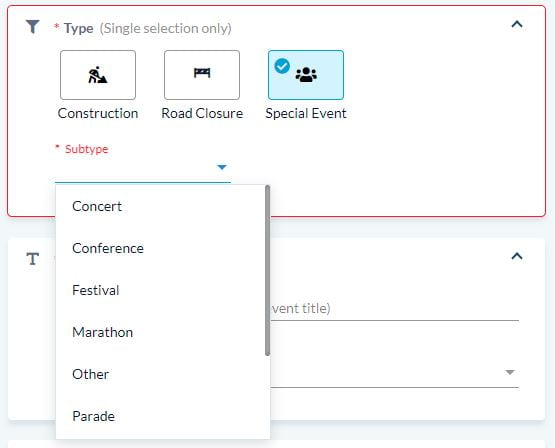
- The Special Events subtypes are:
- Concert
- Conference
- Festival
- Marathon
- Other
- Parade
- Protest
- Racing
- Sport
- Select the subtype from the list.
Event Details
The Event Details section allows you to enter the event name and the select the number of participants of the event.
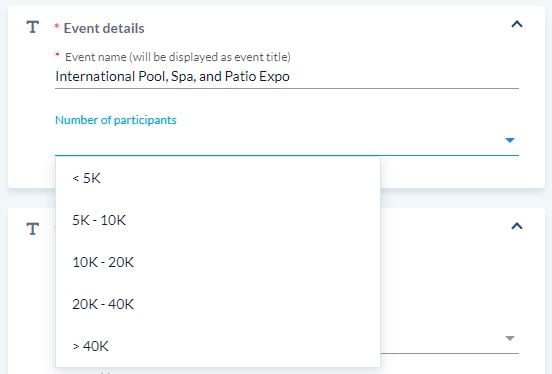
- Enter the name of the event in Event Details.
- Select the number of participants. Choices are:
- Less than 5,000
- 5,000-10,000
- 10,000-20,000
- 20,000-40,000
- More than 40,000
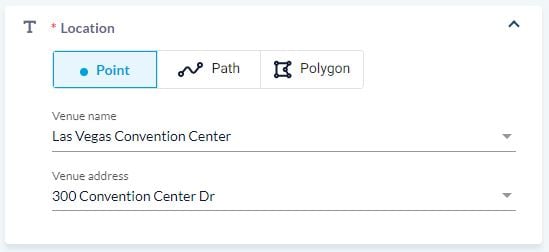
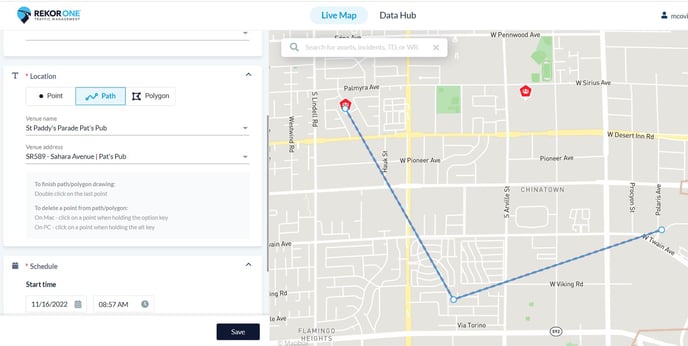
Location
The Location settings allows you to set the event location on the Live Map, and enter the venue name and address. The Location may be a Point, Path, or Polygon, as follows:
- Point – a single location, typically a street address, e.g., a conference or convention.
- Path – a dedicated route along pre-determined streets, e.g., a parade, racing, or marathon.
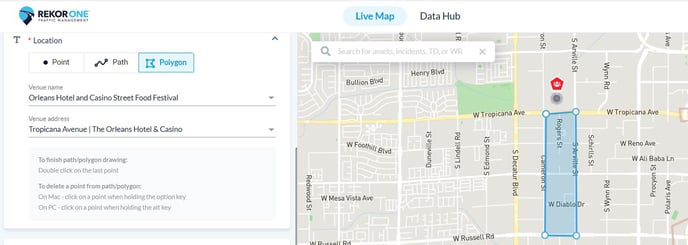
- Polygon – a dedicated area that may include streets and buildings, e.g., a festival or protest.
To draw a path or polygon, find the venue location on the Live Map, then right click on your mouse and draw the path/polygon. To finish path/polygon drawing, double click on the last point.
To delete a point from path/polygon:
On Mac - click on a point when holding the option key
On PC - click on a point when holding the alt key
- For a Point, select Point, then enter the name of the venue and the venue address.
- For a Path, select Path then right click on the mouse and draw the path using your mouse. Double click on the last point to finish the path.
- Enter the name of the venue and the venue address.
- For a Polygon, select Polygon then right click on the mouse and draw the polygon. Double click on the last point to finish the polygon.
- Enter the name of the venue and the venue address.
Schedule
The Schedule allows you to set the date and time of the event.
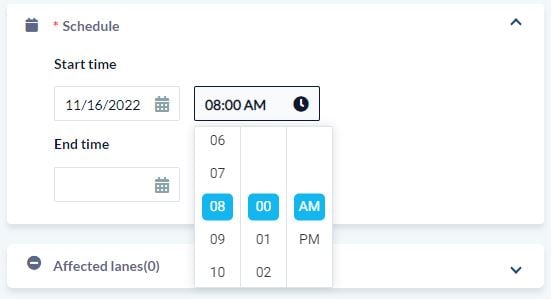
- Enter the start date by choosing the start day on the calendar, then select the time.
- Enter the end date by choosing the end date on the calendar, then select the end time.
Affected lanes
The Affected Lanes section allows you to designate which lanes of traffic will be affected by the event (up to 9 lanes), and whether they will be open or closed during the event.
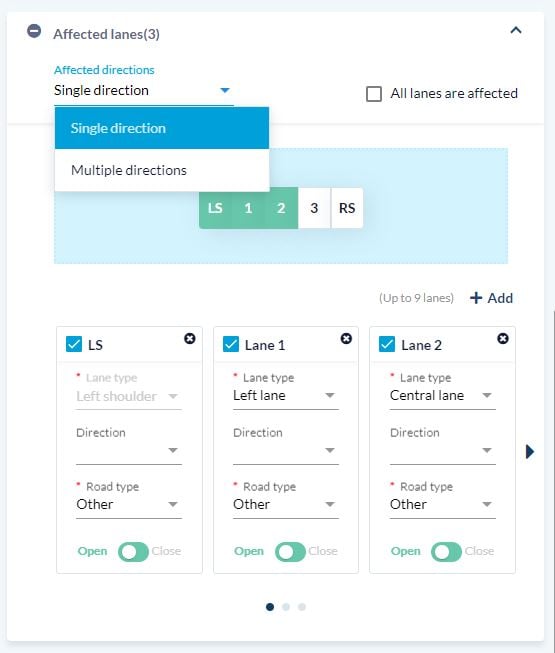
- Choose whether the affected lanes are single direction or multiple directions.
- If all lanes are affected, check the All lanes are affected box.
- If not all lanes are affected, select which lanes will be affected by checking the box on the upper left of each lane box. Follow steps 4-8 for each lane.
- Select the Lane Type from the drop-down list. Choices are the lane location (Left, central, right), Express or HOV.
- Select the Direction from the from the drop-down list. Choices are: East bound (EB), North bound (NB), South bound (SB), and West bound (WB).
- Select the Road Type from the drop-down list. Choices are: Highway, Bridge, CD road, Freeway, Intersection, Off ramp, On ramp, Other, Primary, Ramp, Roadway, Secondary, Street, Trail, and Transition Ramp.
- Select whether the lane will be Open (green) or Closed (red).
Description
The Description allows you to add more detail about the event, if desired.
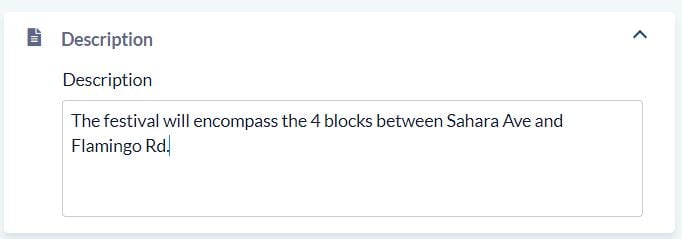
- Enter the extra details of the event in the Description box.
Contact person
The Contact Person section allows you to enter the contact details of the point of contact of the event, in case there are additional questions.
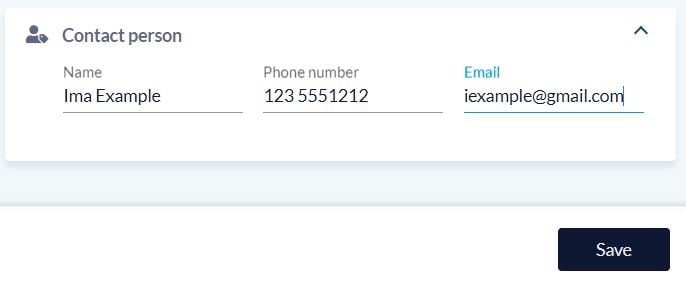 Enter the name of the Point of Contact.
- Enter their 10 digit phone number.
- Enter the email address of the Point of Contact.
- Double check all the event information, then click Save.