For organizations that do not support 24/7 operations, having incidents coming in that are outside of their active hours can create unnecessary work and data inaccuracies. The Working Hours setting allows the organization to define the hours in which they work. Therefore, the data they evaluate retroactively will be aligned with the hours of operation. By default, incidents outside of your account’s working hours will be filtered out in the Data Hub (not Live Map) and the data and analytics will accurately represent the operator’s performance.
Permissions
The scheduling will be editable by users with Account Manager permissions, and viewable by users with Account>Read permissions as part of the Account Management group. Note: Only new Incidents will be automatically affected by the scheduling configuration. Historic incidents will not be aligned to the schedule retroactively.
Enabling Working Hours
By default, Working Hours are set to 24/7 operation. To change the working hours to match your operating hours:
- Mouse over the user name in the upper right corner, then select the gear icon to go to Settings.
- Go to General, then Working Hours.

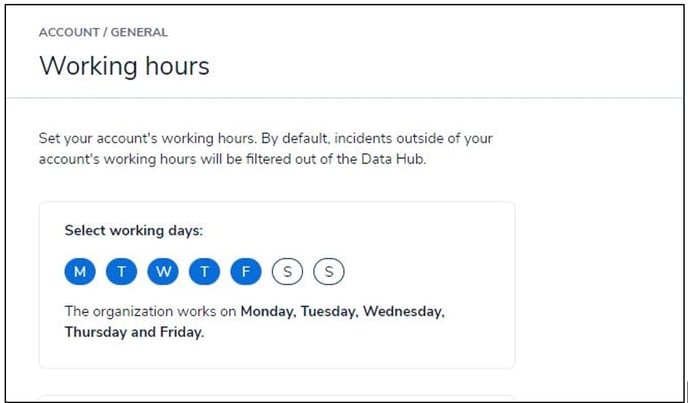
- Select the days of the week of work operations by clicking on the initial letter of the day.
- M – Monday
- T – Tuesday
- W – Wednesday
- T – Thursday
- F – Friday
- S – Saturday
- S – Sunday
4. If the operations are 24 hours for the selected days of the week, select All Day.
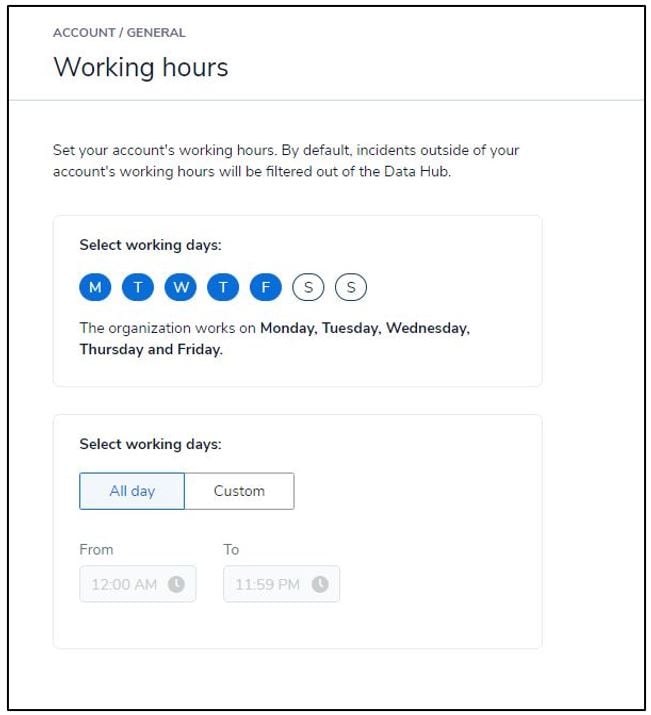
5. If the operations are limited for the selected days of the week, select Custom.
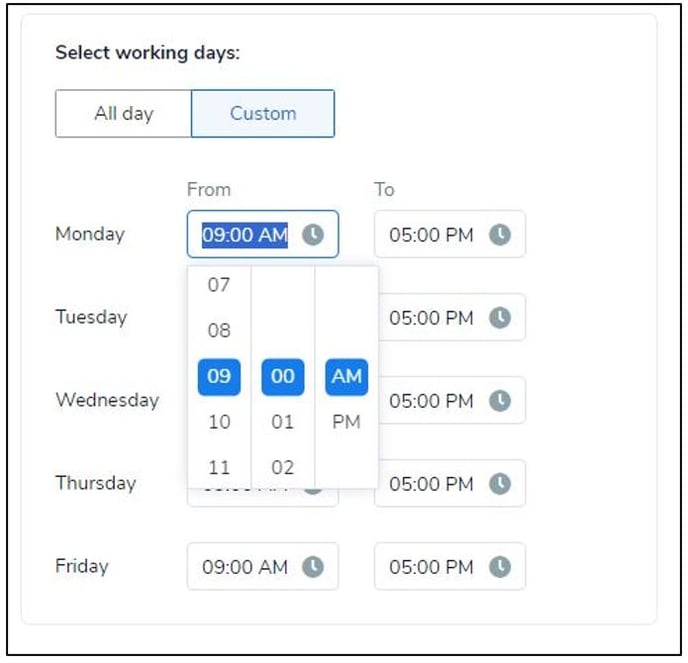
7. Once each day is set up, click Save Changes in the upper right corner.