Here’s what can be controlled:
1. Select which fields are optional and which fields are mandatory.
2. Choose which options will appear in the drop-down menus
Permissions:
Users with an account manager role will be able to edit the incident configuration settings. All other users will be able to view but not edit the fields under this tab.
To access the incident configuration settings:
Click on your username in the top right corner of the screen.
Select “Settings” from the drop-down menu.
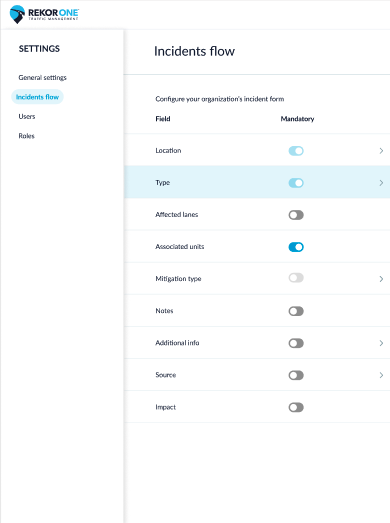
Once inside the settings page, click on the incidents flow tab on the left side of the page.
To mark fields as mandatory:
Most fields that are not marked as mandatory by default can be marked as mandatory through the incident configuration settings. These settings will apply to all users under your agency’s account.
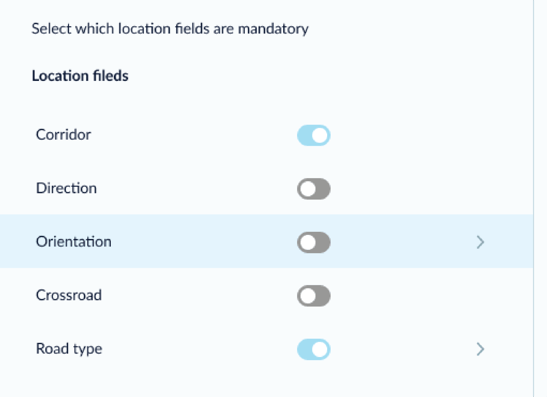
Once a field is marked as mandatory, it will also appear as mandatory in the incident form, marked with a red star *.
Fields that are enabled, can be toggled on or off. If the toggle is blue, the field is mandatory. Toggles that are disabled can not be changed, meaning that they are fixed and cannot be altered.
To choose which options appear in the drop-down menus:
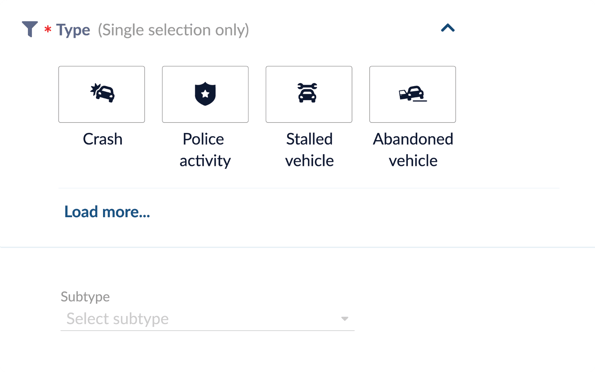
1. Account Managers can select which criteria appear under any field with a drop-down arrow.
2. Click on the arrow and select with the checkbox which options you want to be clearly visible in the incident form.
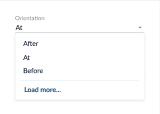
Note: Options that are not selected, will still be accessible by clicking “Load more...” at the bottom of each section.
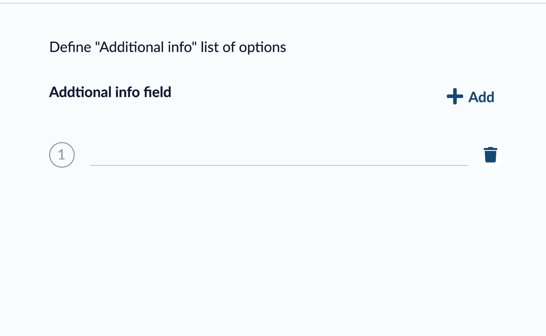
3. The drop-down menus of “Mitigation type”, “Additional info”, and “Source” fields can all be defined by clicking on their arrows. Click “Add” to add new options in each menu, or the trash can button to delete.
4. In the incident form, if you would like to see more options in each field, click “Load more...”.